Tuesday, March 5, 2013

How To Make A Three Tiered Wedding Cake


Ingredients you will need:
6 cake mixes (2 of each flavor if you are making each tier a different flavor)
or 5 cake mixes if all tiers are the same flavor
eggs, oil, etc as mix directs
spray oil
flour for coating pans
3 c butter
3 c shortening
6 lb powdered sugar
clear butter flavoring, large bottle
clear vanilla flavoring, large bottle

Equipment you will need:
2- 9 inch cake pans
cooling racks
long thin metal spatula
4 cardboard cake rounds
4 glass platters
3 yards of 1-1.25 inch ribbon
3 cake toppers (see previous post for how to make floral cake toppers)
4 berry boxes from Costco or cake boxes from bakery (for transporting cake)

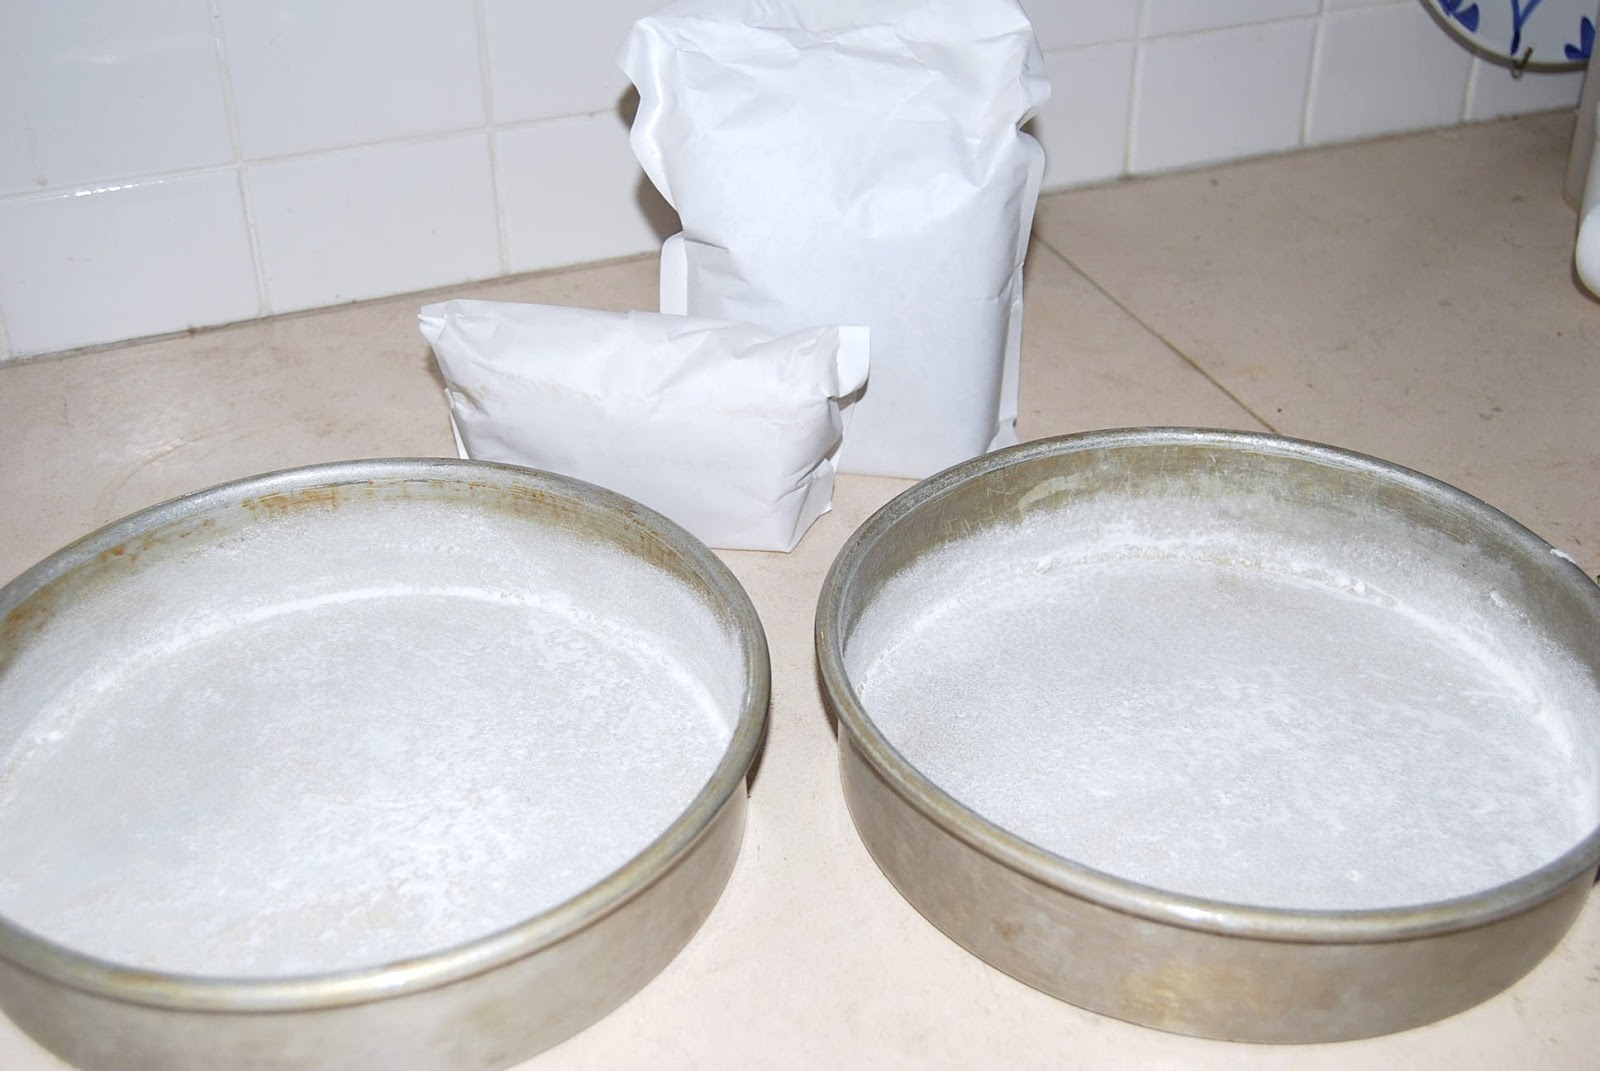
Begin mixing cakes with 1.5 cake mixes for each tier (which is 2- 9 in cakes). Following directions on package, use 1.5 as many eggs, oil, etc and mix and bake as directed.  Be sure to spray cake pan LIBERALLY with oil and then flour well.

Bake as directed. Let cool 10 min before removing from pans and place on cooling rack. Once cakes are completely cooled, wrap in plastic wrap and place in freezer.  I usually start baking a week ahead of the event. Continue with the other two flavors (or cakes if they are all the same).

Now you will have 3- .5 cake mixes left of different flavors.  I mix them all together and get a "surprise" cake.  One time I used lemon, red velvet and chocolate.  Someone said it was the best cake they ever had.  This will be the fourth cake and I usually don't decorate it will flowers and ribbon.  I just put it on a platter and have it for an extra cake to serve.

When cakes are completely frozen and you are ready to assemble cakes with crumb coat (the first layer of icing to seal in crumbs), mix a batch of icing as follows:

1 c butter
1 c shortening
2 lb powdered sugar
5 tbsp milk
1 tbsp clear butter flavoring
1 tbsp clear vanilla flavoring
white coloring (optional)

Mix 2 more batches as needed.

Here are samples of icing. One without white color, one with 1 tsp white color and one with 2 tsp. white color.  It's hard to tell from a picture.  I really couldn't see any difference in real life either.  It's not a bright white icing.  If you want a whiter white, use 2 c. shortening and leave out butter.


Prepare cardboard rounds by tracing around pan onto cardboard.

Then cut the cardboard about .25 inch smaller than the pan line.  You want it to be slightly smaller than the cake so it's not showing.

Smear a small amount of icing in the middle of the cardboard to hold the cake on.  Place cardboard on top of cake pan that is upside down.  This will help give you room to smooth icing to the bottom of the layer without hitting into your work surface.

Place the first layer of the cake on the cardboard with the flat side down and the rounded side facing up. Spread the center icing.  Place the second layer with rounded side down and facing the center and the flat side on top.

Continue icing top and around sides.

When the first layer of icing is complete, return cake to the freezer until you are ready to do final layer.  You won't need plastic wrap, the icing has sealed the cake and it will be fine.

When you are ready to begin final layer of icing, you may need a wide spatula to get under the cardboard to pick it up and place back on the upside down cake pan.

Use a pan of hot water to dip icing spatula in.  This will help smooth the icing.  You may need to run it under the hot tap water if pan cools too quickly.

Add a final layer of icing and smooth the top and then the sides.  There will be icing sticking up on the sides past the top, just fold it over and smooth it into the top so you have a nice edge. There will be small imperfections, don't worry about it, no one will notice them.  If you try to make it perfect, you will probably make it worse. If you've ever looked closely at a cake from a bakery, it has imperfections too, we just don't notice it because we just want to eat it!

Place the cake back in the freezer if you aren't taking it directly to the event.

Some platters have more of a lip than others.  One is actually a candle plate.

If the platters you are using don't have much of a lip to keep cardboard from sliding off, you may want to roll a piece or two of clear box tape to put on the bottom to keep it in place during transport.

When you are ready to decorate, wrap the base of the cake with some 1-1.25 inch ribbon.

Cut the ribbon so it overlaps the other end a couple of inches and fold it under about an inch and use a straight pin to tack it in place.


Add some flowers on top.

I make the toppers with the base made from a spray can lid.  Take a spoon and scoop out enough cake in the center to fit the base and set cake topper in. (See previous post on how to make floral cake toppers.)

Use the berry boxes or cake boxes to place cakes in for transport.  The edges of the platters will touch the box, but the cake won't.

If you have extra frosting left over, put it in a bag and freeze for later.


See previous post for cake pedestals.

Saturday, March 2, 2013

How to Make Floral Cake Toppers


Make your own floral cake toppers!

You will need:
2 rose garlands
1 varigated ivy bush
fern leaves
18 ga wire
floral tape
3 spray can lids
floral foam
hot glue gun
wire cutters

 Start by making the base with the spray can lids. Press the open side of the lid down on the floral foam.

 Break off the extra foam around the lid and trim off the foam so it's flush with the top.

 Repeat with each lid.  Now your bases are ready.
  
Normally I would use flowers with stems that are longer.  But I liked the roses on the garland better than others I could find.  The garland also had rose buds on it that adds variety to the arrangement. Cut all the flowers from the vine. 

The stems will be too short and need to be wired and taped together.  Cut 4" pieces of wire and use floral tape to connect the wire to the stems.

For each topper you will make 3 separate bouquets and then glue all three in the base. Each bouquet will have: 2 large flowers, 2-3 buds, 1 stem of ivy and a piece of fern leaf.  Wire and tape any stems that are too short.

Then combine and tape all the pieces for each bouquet.

Once you have 3 bouquets assembled, trim the wires so there is about 1.5 inches on the tail.

Apply hot glue around the tail of the bouquet and sick into foam base. Repeat with the other two bouquets.

Now you have 1 complete topper.


Make 6 more bouquets and glue 3 each into the last 2 bases.


Top view.

Thursday, February 28, 2013

Food Storage Organization and Tips

If you have a room full of food storage buckets that all look the same, it can be confusing when you're looking for the one you need.  

Color coding can make it easier.


First I color coded grains with yellow tags, wheat with pink, ancient wheat with green, purple for rice and

  beans with orange tags.  
Then add colored dots to differentiate varieties of grains and beans.

color key

Tags are easy to make by using the template for labels in Word.  In a new document, select mailings, labels, options, business card (2x3.5) full sheet.  I used 24 pt font in CAPS so I can read it without my glasses.

Type in your label names only on the right side of the sheet.  You will be folding it in half and only see one side.  Then print your labels on your colored paper and laminate ( I used 1.5 mil).

Trim .5 inch off paper on top and bottom and cut labels into 2 inch strips.  Now you're ready to attach to your buckets by folding them in half over the handle and staple in the middle of the tag.  This will allow the tag to cross over the handle if you need to. 

Simple!  Now it is so much easier to find the bucket you're after. Or if you send someone else to get it :)

 I also love gamma lids for the buckets that I open and close often to refill my pantry.  You can see that I have color coded the lids as well. Orange for beans 

 and yellow for grains.

 Gamma lids are easy to attach to your buckets.  I use a rubber mallet to hammer the rim on and then the lid screws off and on easily.  They can be pricey, but worth it instead of pulling off your fingernails to get in and out of regular lids.

Remember to label your buckets with more information than is on the tag. If the tag was pulled off somehow,  you would still want it labeled.  Include the variety, year and pounds as well as how it is preserved.  This has bay leaves in it instead of oxygen packets or dry ice so that it can still be sprouted.

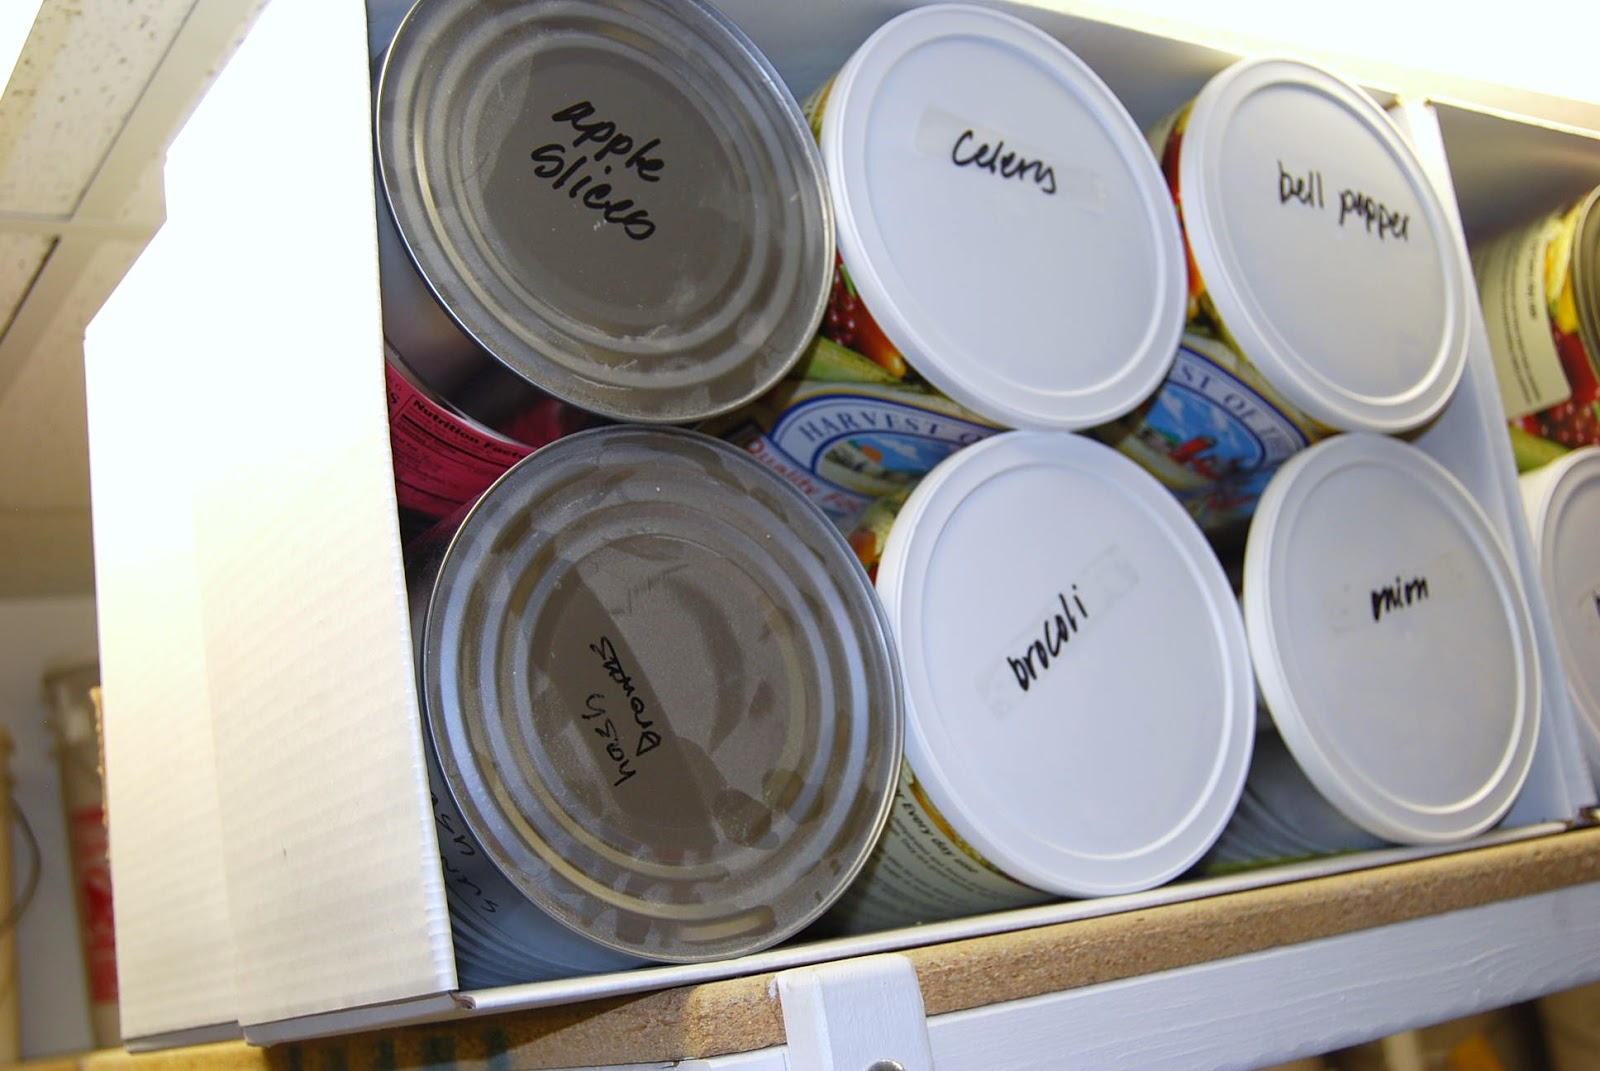
 For #10 cans I don't have fancy shelving.  I just turn the box on it's side, take out the cans and fold the flap in and put the cans back in. Use a sharpie marker to write what's in the can. Remember to date it with the sharpie also if it's not labeled on the side of the can.

It's much easier to grab a can with the box on it's side than having to lift the box off the shelf, open it, take out what you need, close it and put it back on the shelf.  This also lets you see how many are left in the box.  The box behind it should be the same.  if I only have 2 cans of apple slices, one will be in the box in front and the other will be in the box in back.

Same goes with boxes of all the same thing.  The box behind it should be all the same kind of contents.

 Now we have canning jars.  This is how I have stacked my boxes of jars for many years.  When the jars came in totally closed boxes, I would cut open the side like a sideways H and fold the flaps back inside and then put the jars inside.  This would let you see plainly what was in the jars, all the beautiful colors and all your hard work.

 When you buy a new case of jars these days, they all come in a half box with plastic over the top. This makes it hard to see what is actually in the jars when they are stacked on the shelf. I came up with the idea to take a picture of 4 jars, print it in life size, laminate it and tape it to the box. It's not as pretty as the real thing, but it makes it easier to find what you're looking for.  Then I added labels since salsa, tomato sauce and marinara look a lot alike.

 
 These labels are made the same way as the bucket labels, only on white paper.

 Again, fold in half and this time staple at the top by the fold.  

 This will give a little tension when you slip it over the edge of the box.

Then when your box is full of empty jars, turn the label around so it is blank.  I wash the old lid and keep it with the jar.  Put it on upside down so the rubber doesn't stick to the jar and put on the ring. Now your jar is kept nice and clean and ready to rinse when you're refilling them. (This was my sister Sheri's idea to keep jars clean with old lids :)

 Small items can get lost on big shelves.  By putting them in clear shoe box bins, they can stack and save space.

 If you buy bulk baking soda, baking powder, cocoa, etc., put it in canning jars and label on the side with a sharpie.