Make a simple, inexpensive, attractive desk with one sheet of plywood and hinges.


I originally cut out all the spaces with the jigsaw and found it was much to difficult to control the cuts. They were too "wavy" and sanding in a small space was not possible to get a clean looking cut.
I decided to use the table saw and lower the blade below the table. Turn the saw OFF, place the cut out on the table within the cutout area and then turn on the saw ON and raise the blade to make the long cuts. Turn the saw OFF and reset between each cut and to remove wood. Turn the saw ON to make the cut and then OFF again between each cut. Set the fence on the table saw for 4" and make all the outside cuts for each leg piece, flipping each piece and cutting the opposite side. Then set the fence for 6" and make cuts on each side of each piece. Then set the fence for 9" and make cuts on each side of each piece.
This worked well although the cut could not go to each corner due to the radius of the blade. You have to account for the radius of the blade and stop about 1.5 inch before the corner so you aren't cutting into the 4" border.


This will also leave a raised area that will need to be cleaned up and squared up in the corners. I used the file sander to do this and it worked well.


Use the orbital sander and tear drop palm sander to smooth all surfaces and create a slight bevel to all edges.

Paint all sides and edges. Usually 1 coat is enough. It doesn't have to be perfect because it will be a shabby chic/distressed look. You may want to do a sample on a scrap to practice.
Once paint is dry, use sanders or sandpaper to scuff up edges.

Apply stain to edges with sponge brush on one side of one piece at a time.

Use damp rag to wipe edges and then surface, leaving the amount of stain desired. For the desk top, you may want to wipe it down with a wet rag before applying stain so it doesn't dry too quickly since it is a larger piece and area to work with.

Once all pieces are stained, apply a clear coat. Let dry and apply another clear coat.

.Begin assembling legs by placing 2 leg pieces together at 90 degrees. I used the front of a door and floor since there was no base board there. The piece against the door is sitting on the floor and the other piece buts up to it. Lay out 3 of the non-removable pin hinges. Use the sharpie to mark inside each screw hole in case pieces are shifted while attaching with the screws.

Use the drill motor with the driver bit to attached the hinges with screws. Repeat with second set of legs.

Before attaching legs to the top, make sure you have the legs in opposite position.

You can see here that the end edge is lapped over the front edge.

Or you can choose the edges to be showing on the ends instead of the front. Just make sure each side matches and is opposite.

Place the desk top upside down and position the legs on top, checking the edges are all equal margins on each side and attach four of the 3" removable pin hinges.
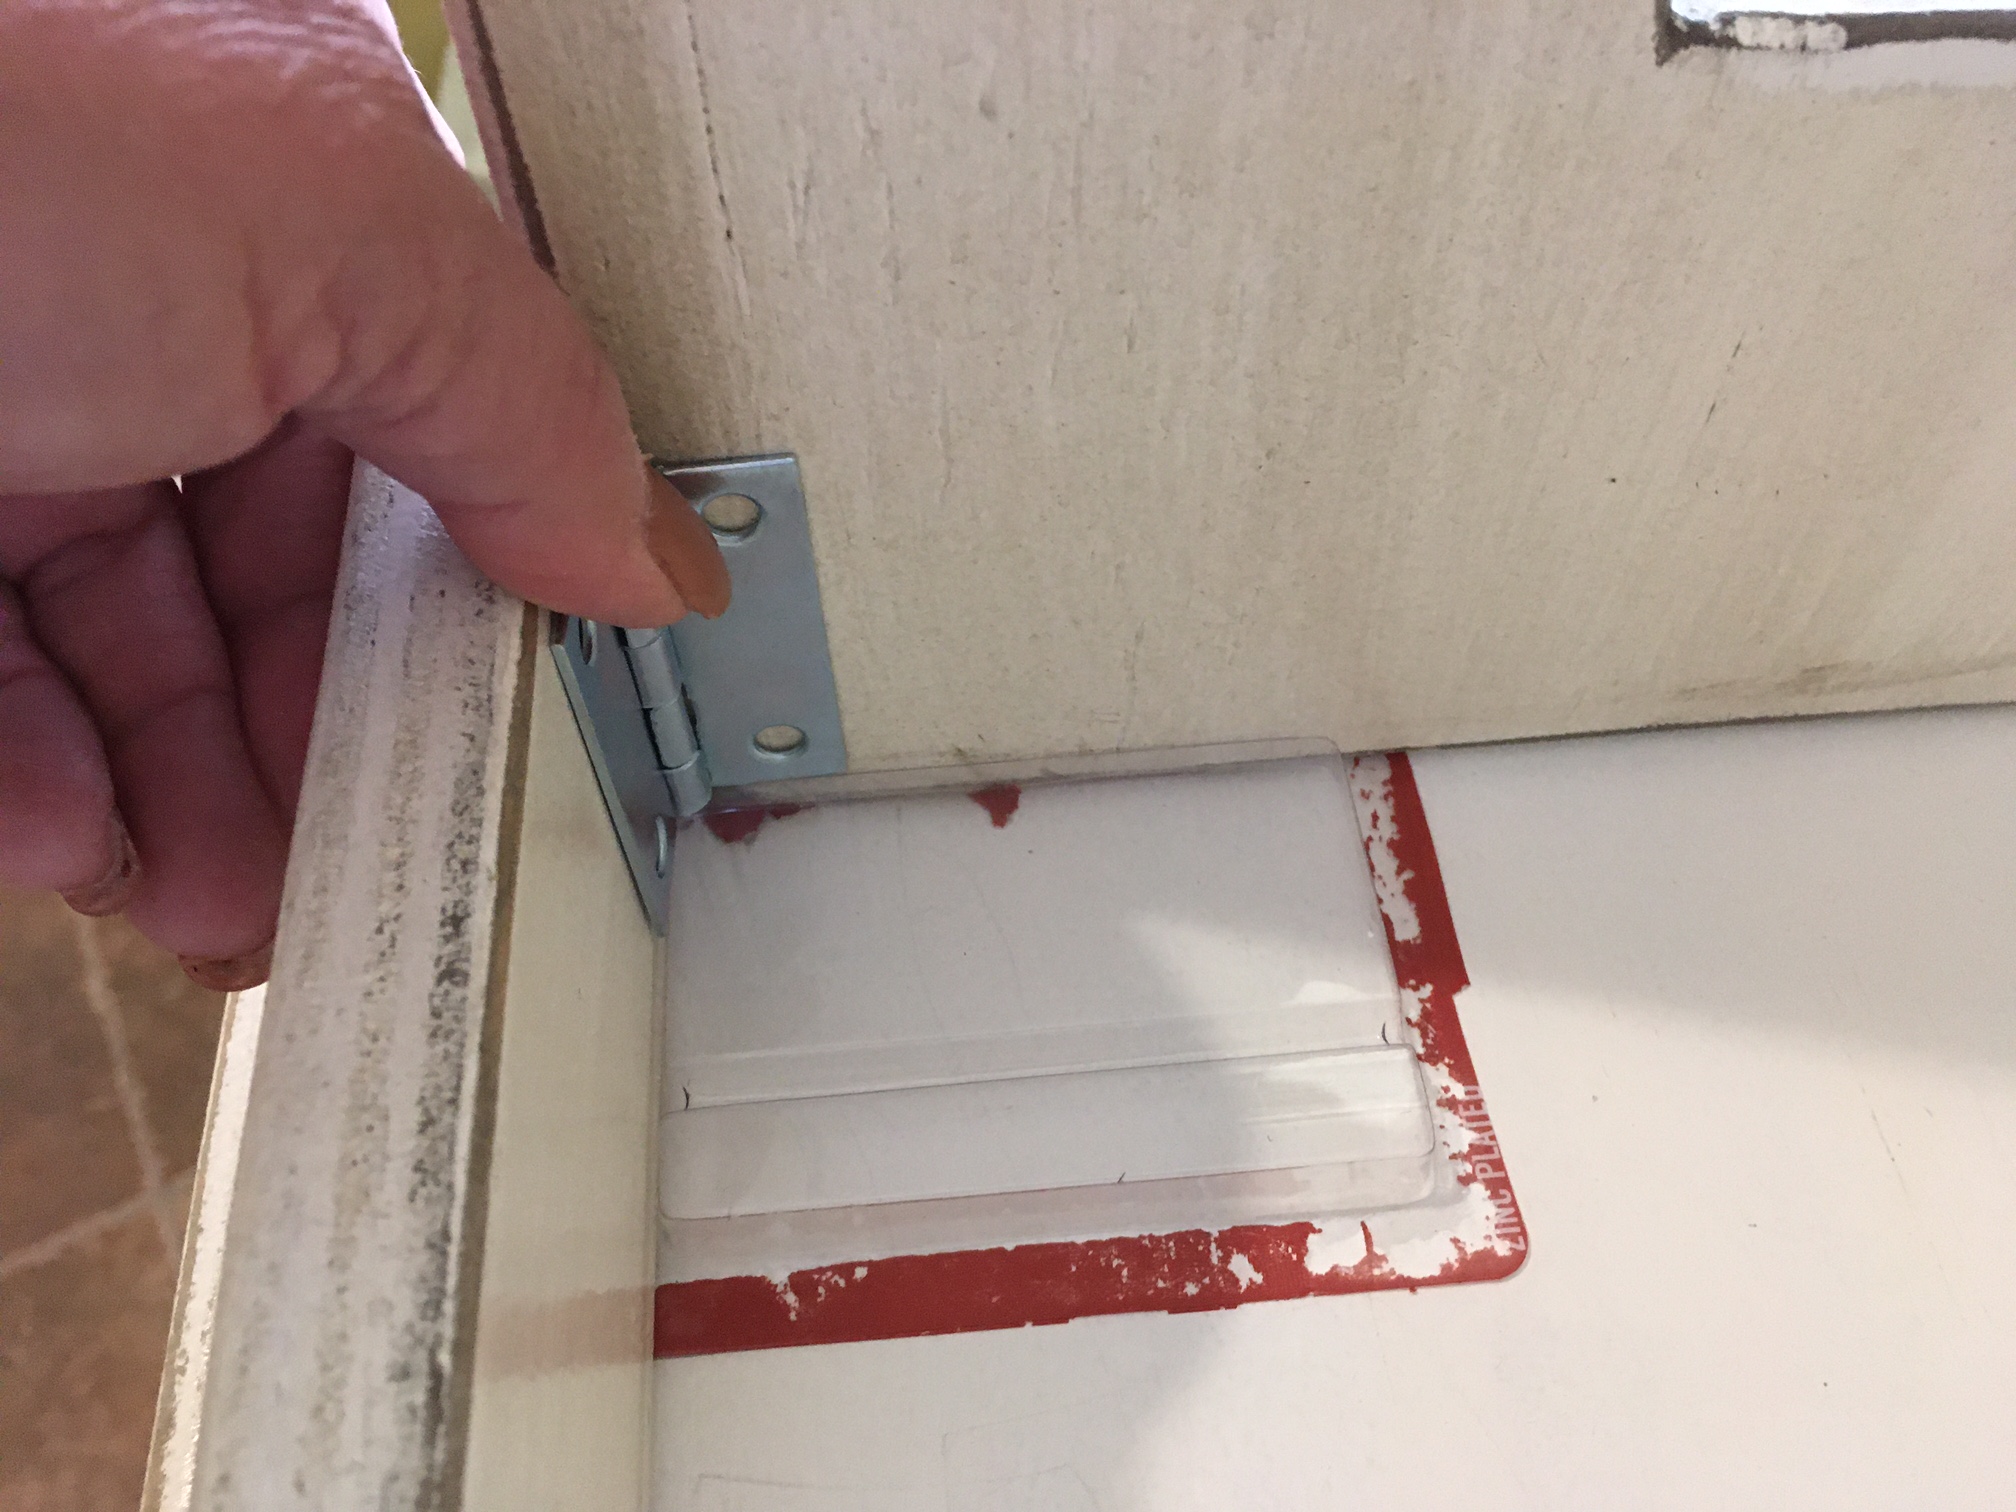
Use the sharpie and mark where the 2" removable hinges will be placed on the apron and legs. Use the packaging from the hinges as a spacer to sit the bottom of the hinge on so it's centered on the apron.

Since it's a tight space, the drill motor may not be able to get up close enough to attach screws completely. Screw in the screws part way to the leg without the hinge and then back them out so it's easier to attach with the hinge.

Repeat the same process on the apron piece.

Use the 5" long phillips bit to attach the hinge in the corner.

Attach the remaining two 3" inch removable pin hinges along the apron side. Now you are all done!


