
This is the bathroom after faux painting.


I used a different top coat color in the bathroom because the color I used in the other rooms looked too orange. Remember the same color paint is going to look different in each room and maybe on different walls in the same room.

Main area

We bought a fixer upper motorhome that had a lot of water damage. Most of the walls needed the paneling replaced which required a creative approach to removing the remaining wallpaper and painting to disguise the seems in the paneling.

To remove wallpaper, you will need a warm day, at least 70 degrees or warmer. If it is colder than 70 degrees, the wallpaper just tears in small pieces. Use a razor blade to cut around any cupboards, windows, etc.
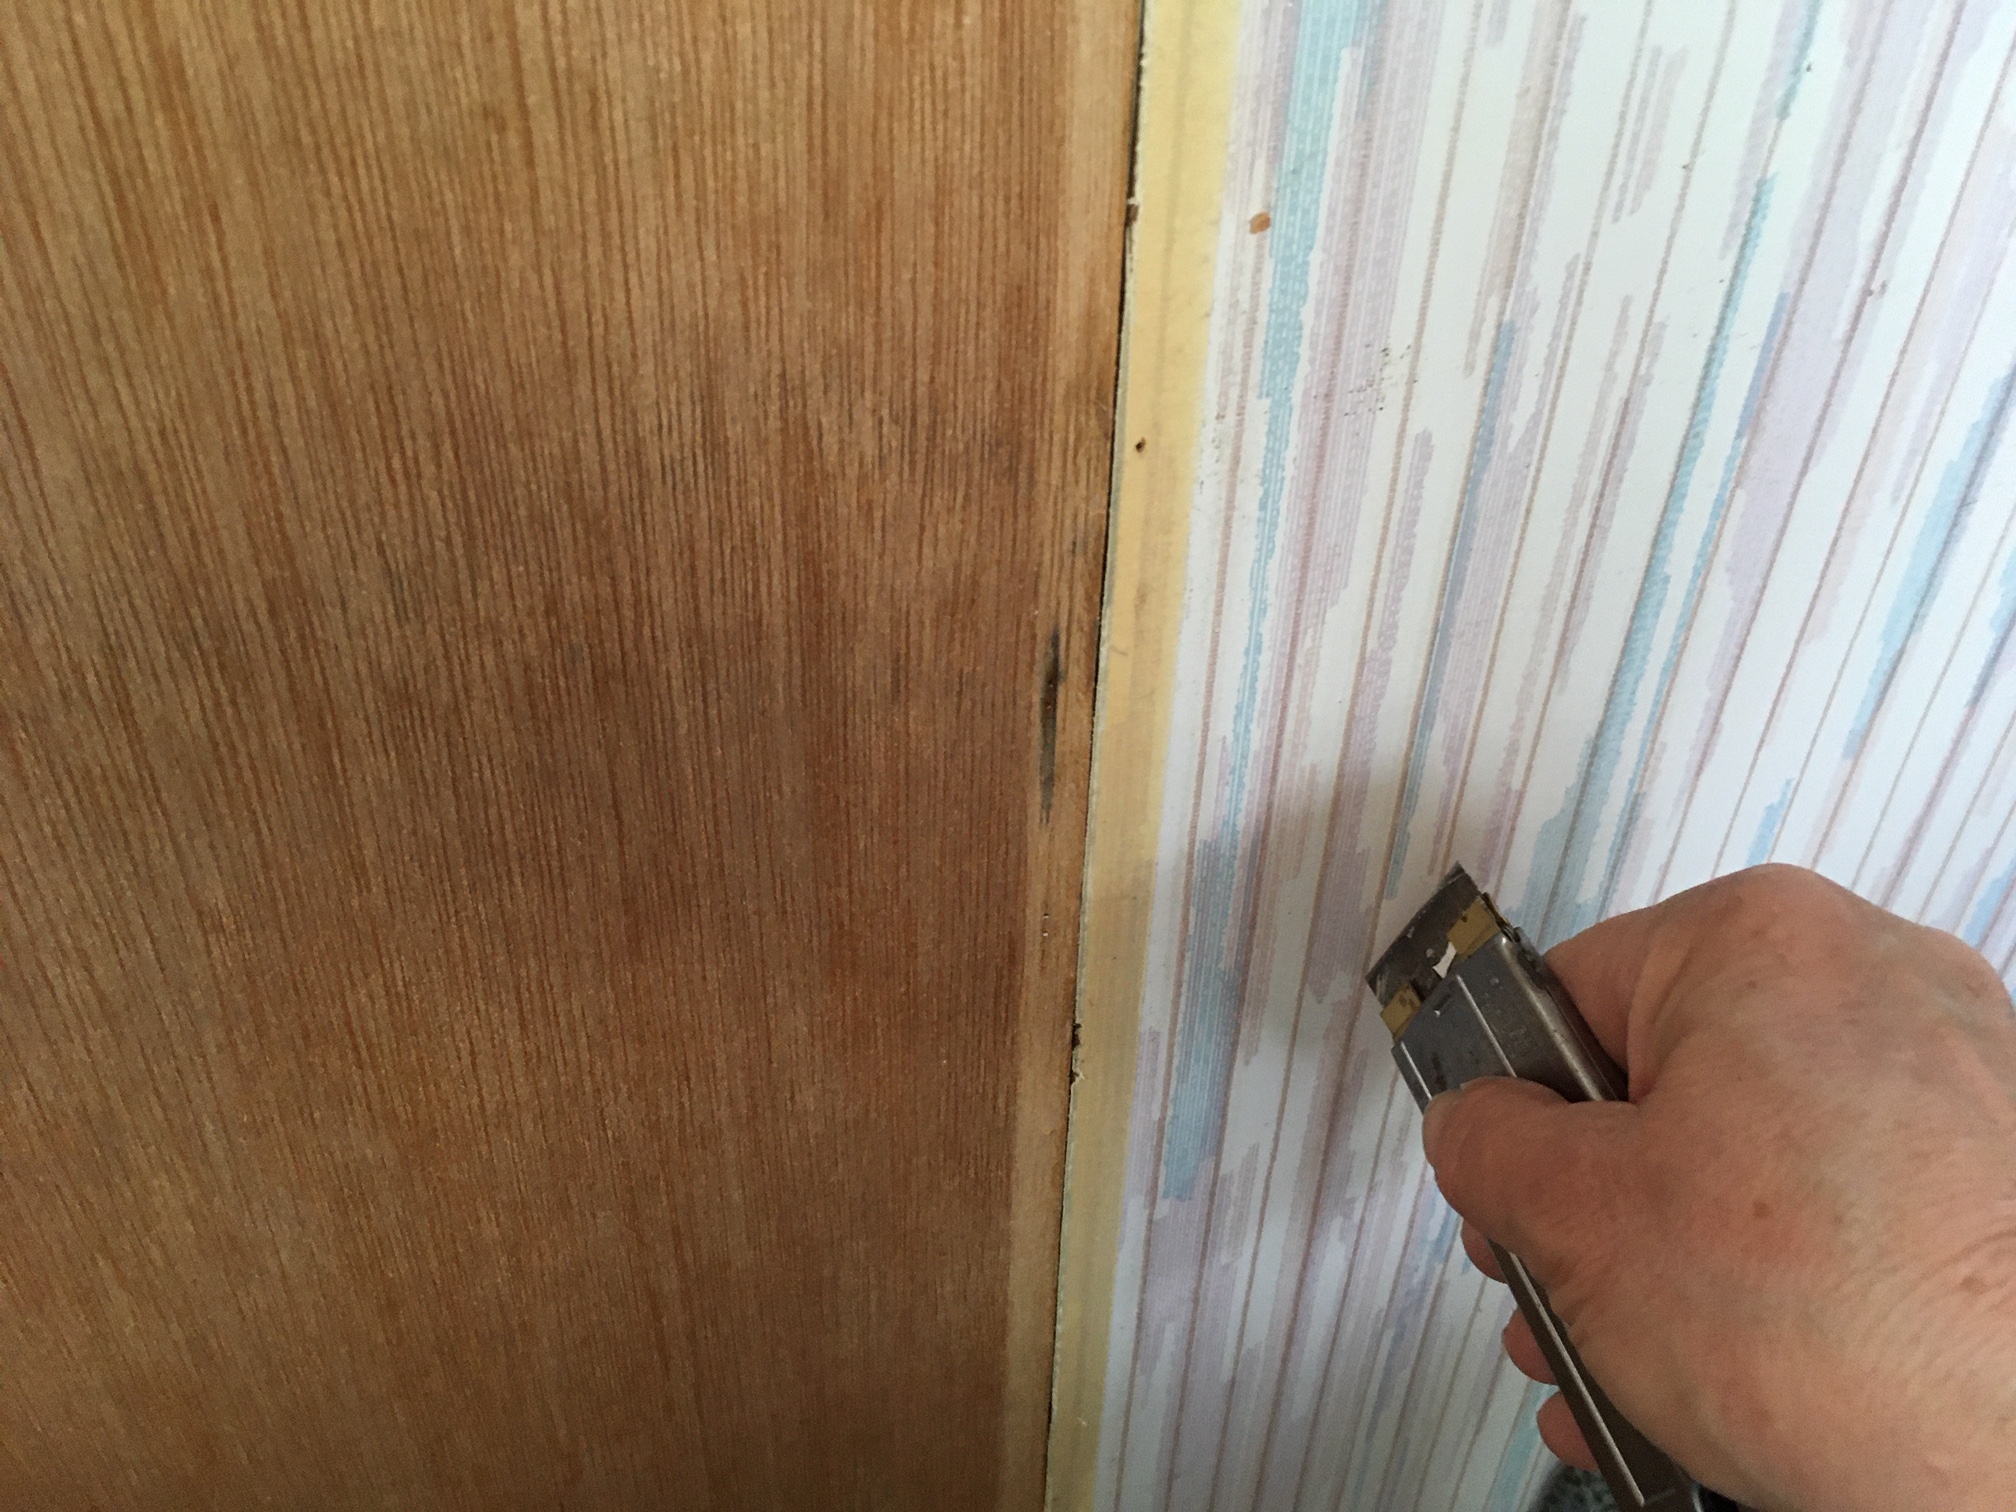
Then use the razor blade to cut the wallpaper vertically in 1.5- 2 inch strips. I tried removing strips that were wider than that and it just tears. It releases much easier and goes quicker by doing narrower strips.

Use the razor blade to lift a corner at the top and then start pulling.

For faux painting you will need:
blue masking tape
paint tray and roller
2" paint brush
2 buckets of water and a couple of rags
plastic dish scrubber
2 colors of paint. One lighter base coat
and a darker top coat that you will texturize.
I used Snowy Pine base coat (Marquee with primer from Home Depot)
and the top coat is Sudan Tan Beige Glidden Diamond with Primer).
I believe they are both Satin finish.
A cool day or working air conditioner in your RV


Just your basic economy 2 inch brush.

Tape off any edges and areas that you normally would when you paint and roll on the base coat.

The temperature for painting is the opposite for the wallpaper removal. You don't want a warm day that is going to dry your paint to quickly before you can work with it. At least start early in the morning when it is cooler.
Once the base coat is dry, get your rag dripping wet and wipe down a section of wall measuring about 15 inches by 30 inches. Wetting this down will give you a few minutes to work with the paint and get the pattern you want. You will need to work quickly top to bottom, left to right in columns. If it doesn't look the way you want, use your wet rag and wipe off the top coat and reapply.

Dip the brush in the paint so the paint is half way up the bristles and shake a little bit so the big drips fall off then brush on the wet section of wall quickly.


Then using the plastic dish scrubber, start as close to the top of the wall as possible and pull down removing some of the paint in a stripe pattern, continue left to right until that section is complete.

I like to divide a 15 inch wide column in three sections. Now repeat on the 2 remaining sections below in this column, trying to keep a wet edge on the bottom edge. On the lower two sections, you will want to use the plastic scrubber in an upward motion so you are blending the fresh paint into the section you previously did and hopefully it isn't too dry so it blends well.

In this picture I am actually making upward strokes with the scrubber and trying to blend into the previous section.


This didn't blend so well.

This did blend well. You will probably want to plan on practicing this technique and have your water and rags ready to wipe of the paint and give it another try until you think you have mastered the technique.
 You may want a few plastic scrubbers on hand since they fall apart if you are doing a large area.
After completing each column, you may want to quickly swish the brush to partially rinse and then flick it a few times in the bucket to remove excess water.

the same goes for the scrubber.
Finished Wall


