.JPG)


Ingredients you will need:
6 cake mixes (2 of each flavor if you are making each tier a different flavor)
or 5 cake mixes if all tiers are the same flavor
eggs, oil, etc as mix directs
spray oil
flour for coating pans
3 c butter
3 c shortening
6 lb powdered sugar
clear butter flavoring, large bottle
clear vanilla flavoring, large bottle
.JPG)
Equipment you will need:
2- 9 inch cake pans
cooling racks
long thin metal spatula
4 cardboard cake rounds
4 glass platters
3 yards of 1-1.25 inch ribbon
3 cake toppers (see previous post for how to make floral cake toppers)
4 berry boxes from Costco or cake boxes from bakery (for transporting cake)

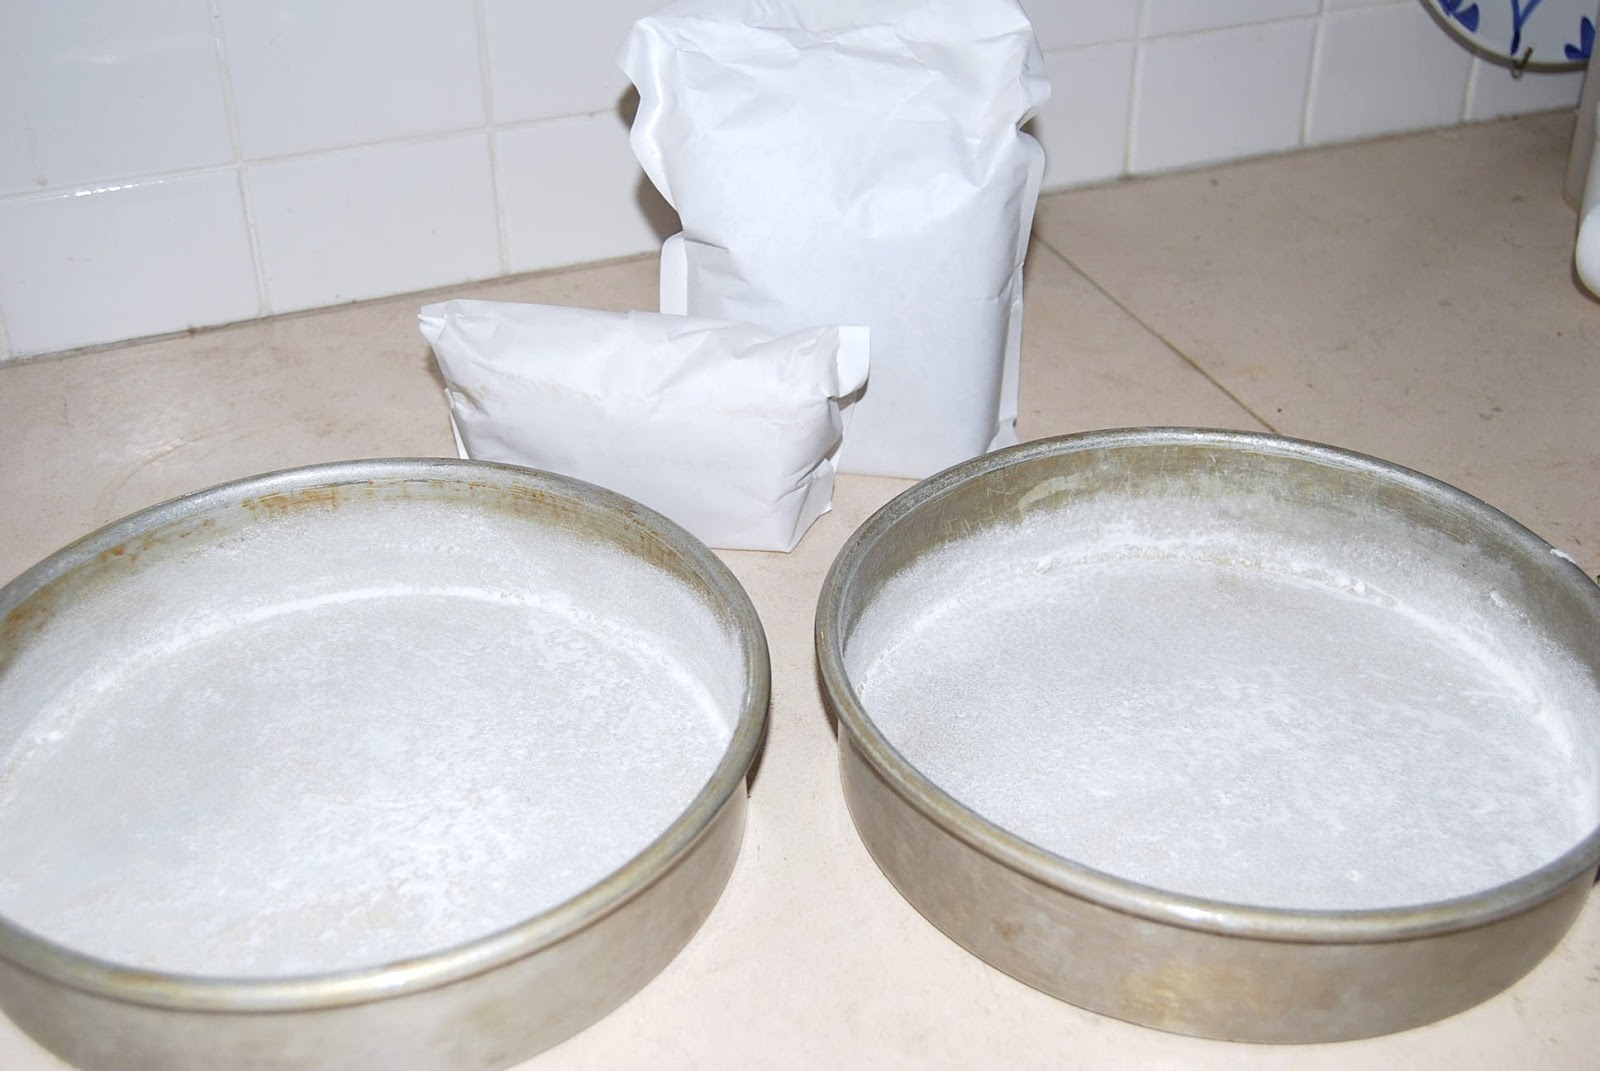
Begin mixing cakes with 1.5 cake mixes for each tier (which is 2- 9 in cakes). Following directions on package, use 1.5 as many eggs, oil, etc and mix and bake as directed. Be sure to spray cake pan LIBERALLY with oil and then flour well.

Bake as directed. Let cool 10 min before removing from pans and place on cooling rack. Once cakes are completely cooled, wrap in plastic wrap and place in freezer. I usually start baking a week ahead of the event. Continue with the other two flavors (or cakes if they are all the same).

Now you will have 3- .5 cake mixes left of different flavors. I mix them all together and get a "surprise" cake. One time I used lemon, red velvet and chocolate. Someone said it was the best cake they ever had. This will be the fourth cake and I usually don't decorate it will flowers and ribbon. I just put it on a platter and have it for an extra cake to serve.

When cakes are completely frozen and you are ready to assemble cakes with crumb coat (the first layer of icing to seal in crumbs), mix a batch of icing as follows:
1 c butter
1 c shortening
2 lb powdered sugar
5 tbsp milk
1 tbsp clear butter flavoring
1 tbsp clear vanilla flavoring
white coloring (optional)
Mix 2 more batches as needed.
Mix 2 more batches as needed.

Here are samples of icing. One without white color, one with 1 tsp white color and one with 2 tsp. white color. It's hard to tell from a picture. I really couldn't see any difference in real life either. It's not a bright white icing. If you want a whiter white, use 2 c. shortening and leave out butter.


Prepare cardboard rounds by tracing around pan onto cardboard.

Then cut the cardboard about .25 inch smaller than the pan line. You want it to be slightly smaller than the cake so it's not showing.

Smear a small amount of icing in the middle of the cardboard to hold the cake on. Place cardboard on top of cake pan that is upside down. This will help give you room to smooth icing to the bottom of the layer without hitting into your work surface.

Place the first layer of the cake on the cardboard with the flat side down and the rounded side facing up. Spread the center icing. Place the second layer with rounded side down and facing the center and the flat side on top.

Continue icing top and around sides.

When the first layer of icing is complete, return cake to the freezer until you are ready to do final layer. You won't need plastic wrap, the icing has sealed the cake and it will be fine.

When you are ready to begin final layer of icing, you may need a wide spatula to get under the cardboard to pick it up and place back on the upside down cake pan.

Use a pan of hot water to dip icing spatula in. This will help smooth the icing. You may need to run it under the hot tap water if pan cools too quickly.

Add a final layer of icing and smooth the top and then the sides. There will be icing sticking up on the sides past the top, just fold it over and smooth it into the top so you have a nice edge. There will be small imperfections, don't worry about it, no one will notice them. If you try to make it perfect, you will probably make it worse. If you've ever looked closely at a cake from a bakery, it has imperfections too, we just don't notice it because we just want to eat it!

Place the cake back in the freezer if you aren't taking it directly to the event.

Some platters have more of a lip than others. One is actually a candle plate.

If the platters you are using don't have much of a lip to keep cardboard from sliding off, you may want to roll a piece or two of clear box tape to put on the bottom to keep it in place during transport.

When you are ready to decorate, wrap the base of the cake with some 1-1.25 inch ribbon.

Cut the ribbon so it overlaps the other end a couple of inches and fold it under about an inch and use a straight pin to tack it in place.
.JPG)
Add some flowers on top.
.JPG)
Add some flowers on top.


Use the berry boxes or cake boxes to place cakes in for transport. The edges of the platters will touch the box, but the cake won't.

If you have extra frosting left over, put it in a bag and freeze for later.
.JPG)
.JPG)


No comments:
Post a Comment