.JPG)
Make a Designer look Christmas Tree. Branches point downward so there's no fluffing and fussing. This was made from a free tree that had a broken branch. All you do is set it out for the holidays, you can even leave the lights on from year to year!

Materials you will need:
7 ft artificial christmas tree
8 pcs- 1x 2x 8 firring strips (cut 4 to 6.5 foot length)
1pc- 2x 2x 8 firring strip (cut 1 pc. 6.5 feet, and the remaining length in half so you have two pieces.)
18x 18 in scrap of .5 or .75" plywood (have the home center cut scrap to size when you buy it)
9x 9 in scrap of .5 or .75" plywod (have the home center cut scrap to size when you buy it)
200- 4 in. long black zipties
2x10 piece of chicken wire
staples for staple gun
2 in grabber screws
Tools you will need:
sawsall with metal cutting blade
saber saw
drill with 1/8 in bit
drill with driver bit
staple gun
tin snips
.5 drill bit

Start base with 18x 18 in piece of plywood. Measure and mark center. Use drill with driver and screw in a screw at center mark. Leave 1/8 in out of wood.

Using a piece of string or tape measure, hold on screw and mark an 18" circle.

Use saber saw to cut out circle.

Place 2x 2 pieces on either sides of center. Drill pilot hole at both ends and screw in place.
Start a screw in the center hole.

Drill a pilot hole in the center of the 2x 2x 6.5 piece.

Line up screw in center of base with the pilot hole you just drilled. Use driver drill to screw in completely.

Now you have the center post for the tree.
Cut a 9" circle in the same manner. Measure and mark a 2" square in the center and cut out. Use a .5 in drill bit to make a pilot hole big enough for the saber saw blade to stick in and start cutting. Place collar over center post and let it rest on the base for now.
Next, attach the 4 1x 2x 6.5 pieces evenly spaced to the base so the are square to the center post.

Drill a pilot hole through the base into the end of the the firring strip.

Then line up the screw with the pilot hole an securely attach to base. Repeat with other 3 firring strips.

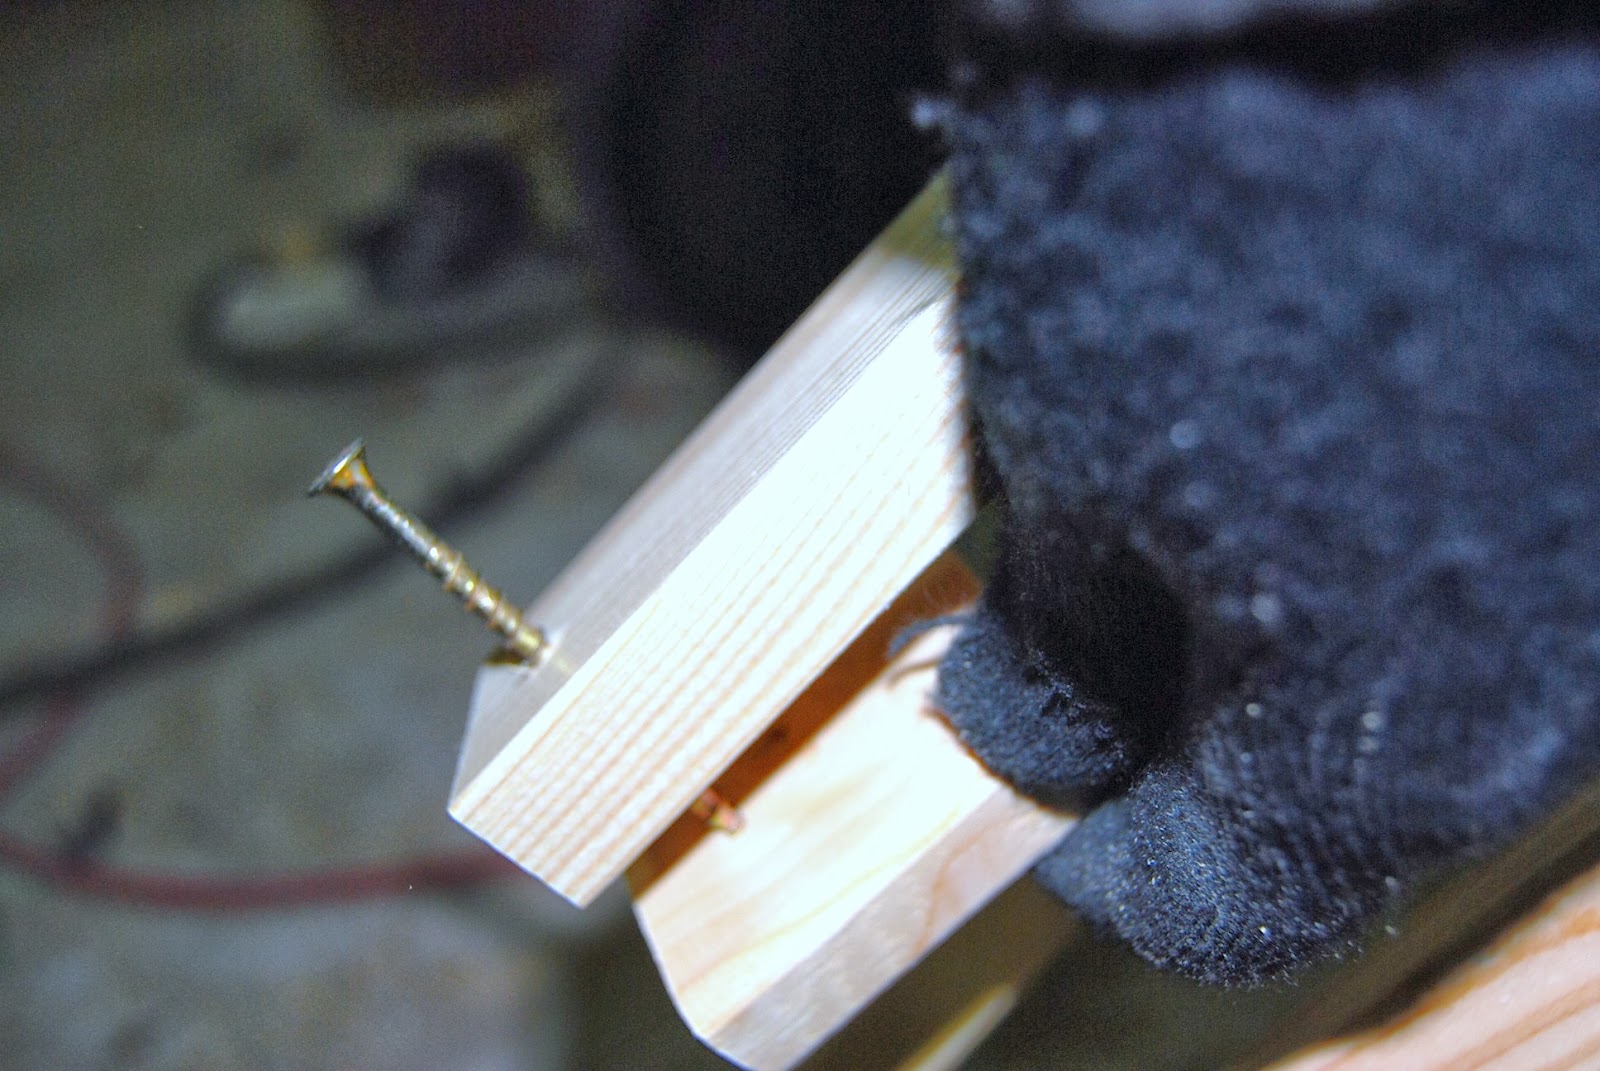
After attaching one end to the base, drill and screw the other end to the center post.

This is what you tree should look like so far.

Cut remaining 4 firring strips to about 52" or so they are as long as possible and still fit between 6.5 firring strips.

Cut 4 spacing blocks 2.5 in long and drill pilot holes at one end.

After attaching short firring strips to the base between the long firring strips, drill pilot holes in opposite ends into center post.
Attach with screws through spacing blocks to center post.

Raise the 9" collar up until it is snug with the firring strips and screw at an angle though the support collar.

Wrap the chicken wire in a spiral around the wooden base and staple in place.

Use tin snips to trim chicken wire where it is overlapping to piece into bare spots.

Now you're ready to cover your tree form.

Use sawsall and cut all branches from the original artificial tree. Keep each segment of branches in a seperate pile according to size.

Start with the lower (largest) branches on the bottom of the tree, overhang the first row of branches about 1.5 from base.

Attach branches with zipties and catch the chicken wire in the loop, one at each end.

Fill in spaces and keep as even as possible.

Cut the tree top into smaller pieces, leaving a small portion for the tree topper. Use .5 drill pit to drill a hole in the top of the center post for the topper piece.

Now you're done and you have a no fuss tree!

I started out using garland, shown here.

This is an almost done tree with garland. I decided the tree branches give it a better look.


Looks really good! I love how tall and skinny it is!
ReplyDelete