Yes, you can feux paint with spray paint! Personalize any object into a great piece to match your décor.

Choose a base coat color and apply to entire object, let dry completely, usually about 20 minutes. You will probably want to wear gloves while painting.

Choose a coordinating color and spray a generous amount on a paper towel.

Quickly begin to apply the coordinating color over the base coat by lightly rubbing over a small area. Apply more pressure to make darker as desired. This will dry quickly so work in small sections and reapply more paint to paper towel and repeat process until complete.

Voile! Now you have a beautiful pot to add color to any space in minutes. This is a quick and fun project. Here's the finished product.


These are the colors used for this project.

These are some cookies tins repainted in ivory and brown.
.JPG)

This bin and footed pot were done using three colors.

Gold, Brown and pistachio.
 Choose a base coat color and apply to entire object, let dry completely, usually about 20 minutes. You will probably want to wear gloves while painting.
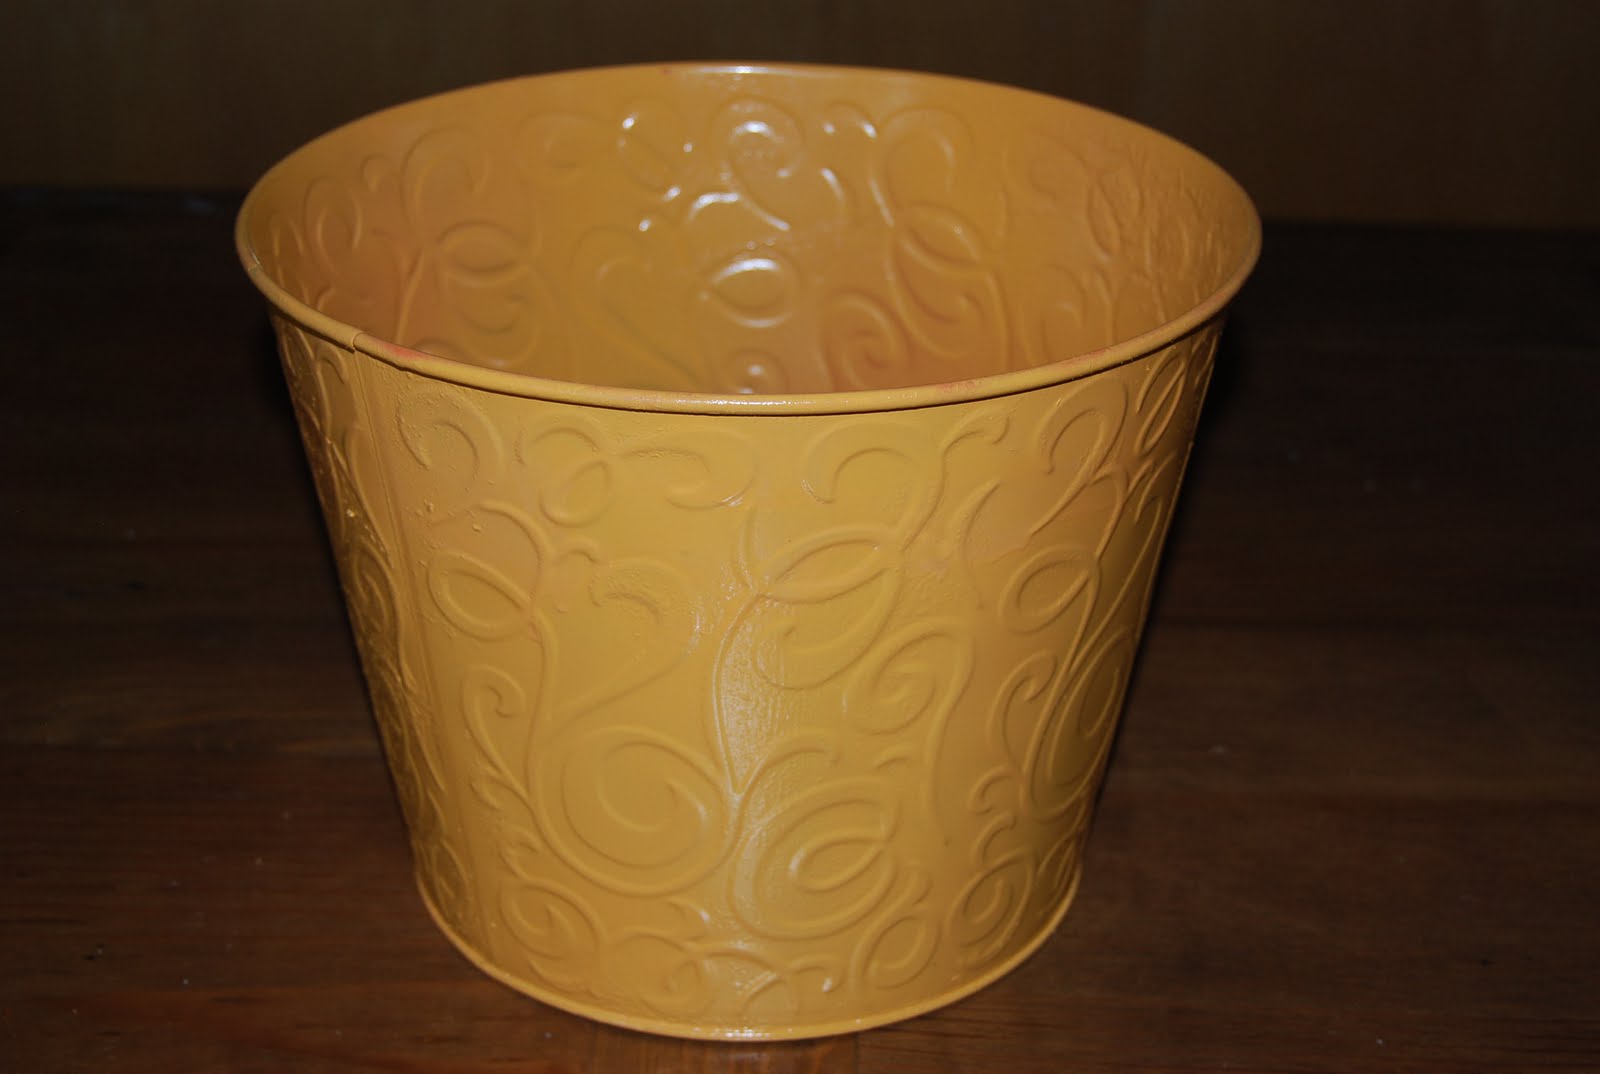 Choose a coordinating color and spray a generous amount on a paper towel.
 Quickly begin to apply the coordinating color over the base coat by lightly rubbing over a small area. Apply more pressure to make darker as desired. This will dry quickly so work in small sections and reapply more paint to paper towel and repeat process until complete.
 Voile! Now you have a beautiful pot to add color to any space in minutes. This is a quick and fun project. Here's the finished product.
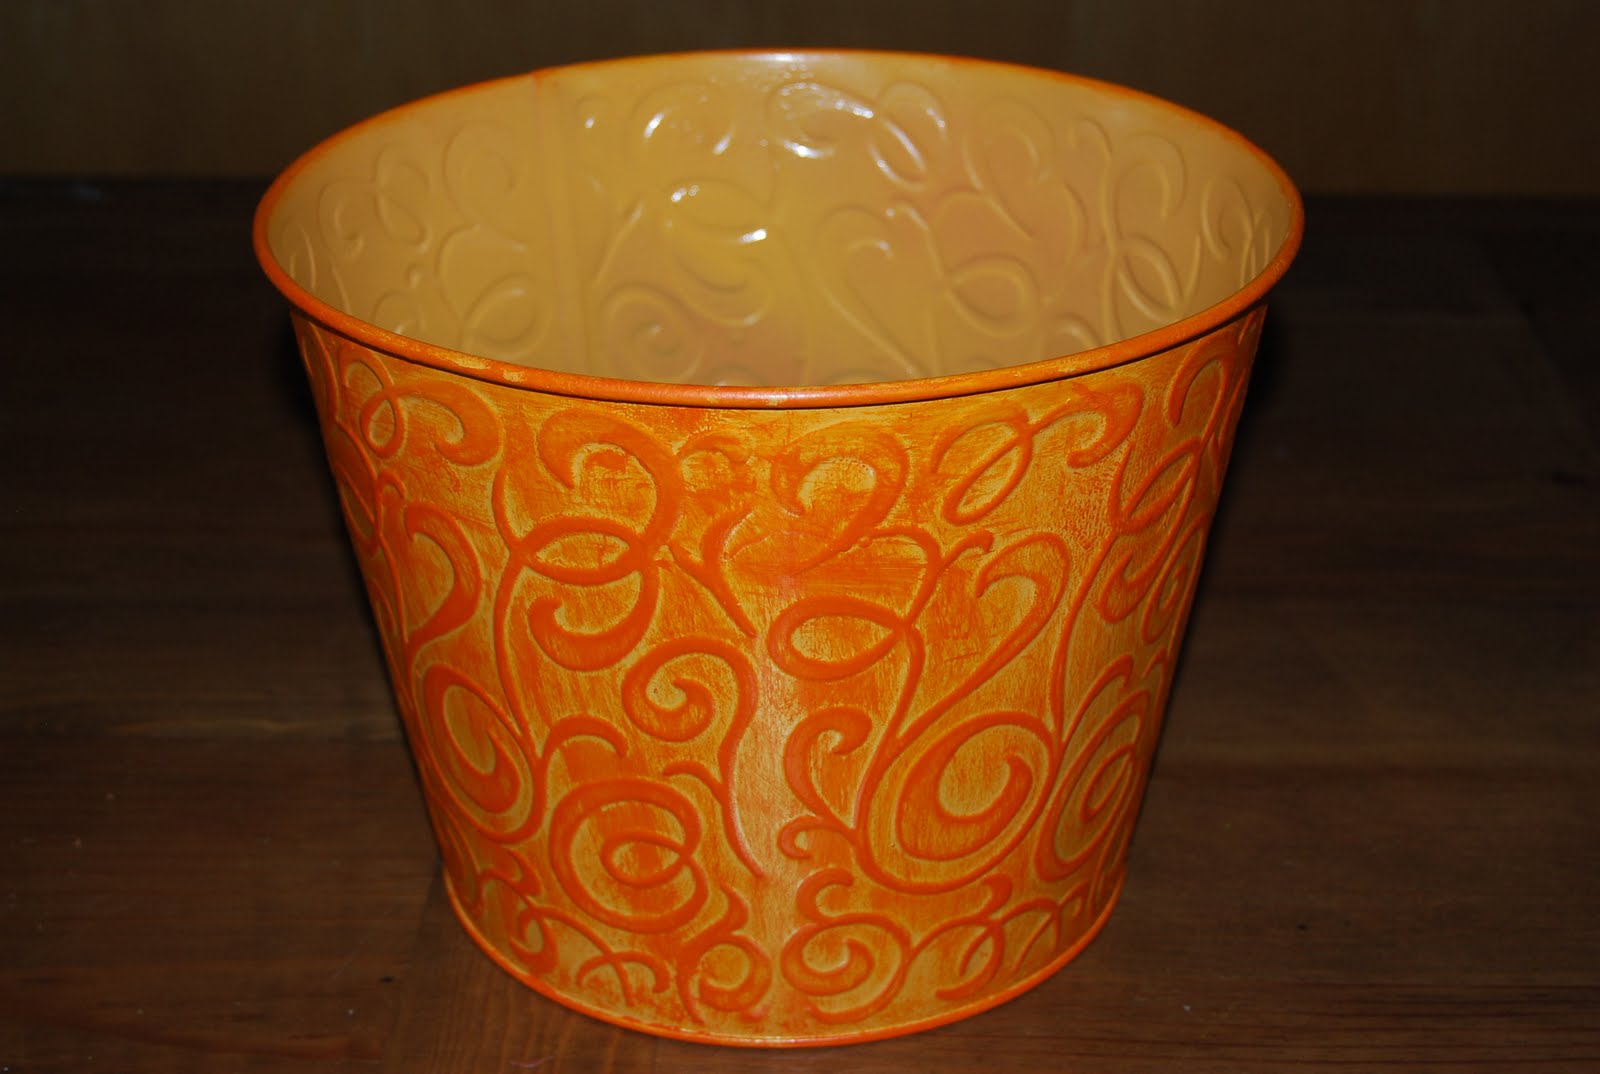
 These are the colors used for this project.
 These are some cookies tins repainted in ivory and brown.
.JPG)
 This bin and footed pot were done using three colors.
 Gold, Brown and pistachio.


.JPG)


.JPG)

.JPG)


