Sunday, March 17, 2024

Bathroom Tissue Holder


Materials:
(makes 2 holders)
White fabric, tablecloth or shower curtain 36”x26” (2 pieces)
White thread
Velcro piece ¾” x 2”
Over the door hook
 
Tools:
Scissors
Yardstick
Pencil
Safety Pin
Sewing machine 
Directions:
Cut 2 pieces of fabric 36x26 (makes 2 holders). Cut ties and loop pieces from these pieces. Mark 2” along short edge (loop) and cut.  Mark 2” along long edge (ties) and cut, repeat so you end up with 4 tie pieces.

Sew loops- use one piece, fold edges over .5 inch towards middle, 


then fold in half and sew 1/8 inch from edge, then cut in 2 pieces, 10 inches long.

Sew ties the same as loops, but first, fold short ends over .5 inch, 

then fold edges over .5 inch towards middle, then fold in half and sew 1/8 inch from edge, starting with back tacking a couple of times and end with back tacking, so ends are finished.


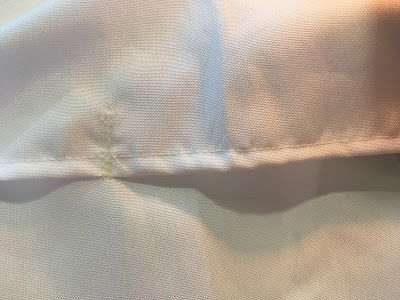
Zig zag shorts ends to finish edges. Finish long edges by folding over .25 inch once and then again.

Stitch 1/8 inch from edge, repeat on all long edges. Make sure edges are folded toward the same side, so there is an inside and an outside.


Add loop- fold main piece in half lengthwise and mark middle for loop placement. Position loop right side with main piece right side together and with both ends together at short edge. 

Back tack several times ¾ inch from edge and zigzag ends.


Tack main piece opening and add velcro- with main piece right side out, fold long edges so they overlap ¾ inch and back tack a few times, 7 inches from each end. 

Cut two-1 inch pieces Velcro. Mark the middle of main piece and sew Velcro pieces facing each other on main piece edges, sew around all sides of velcro piece, 1/8 inch from edge.

 Create casings on each end- fold ends over 1 inch and stitch 5/8 from edge, back tacking each end.  Using a safety pin through the end of tie, feed through casing.  Or, place tie in fold and sew casing along edge of tie, making sure not to sew into tie and back tack each end.

Gather ends by pulling ties tight and tie in a bow on each end. Ties remain in a bow- loading and unloading is done through opening with Velcro. Hang holders on an over the door hook.


Sunday, November 20, 2022

Cinnamon Pinecone Decoration

Make an easy inexpensive craft or gift.

Hang anywhere for a festive fragrant decoration.

Supplies:
Cinnamon Pinecones
18 in- 1 3/4 in ribbon
3 pieces jute twine 23 in long
cellophane bags 5 x 3.5 inch x 11.25 (if giving as gifts)

Tools:
Glue gun
Ruler
Scissors
needle nose pliers

Begin by cutting 3 pieces of jute 23 inches long and then fold each piece in half and tie a simple knot at the center fold.

Prepare pinecones for gluing to jute string by pulling out pinecone pieces blocking the center.

Place a glob of glue in the center.

Add the string by pressing the knot on the glob of glue and hold for 15 seconds and set aside for glue to cool.

Add string to all the pinecones and sort by size.

Choose three pinecones and balance spacing and length of strings.

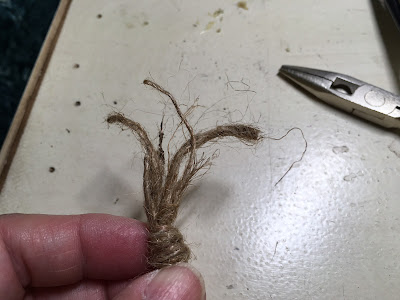
Tie a knot joining a three pine cones about 1 inch from top of pinecones. Tie another knot near the end of the strings.

Trim ends. Tie a bow in the ribbon and attached to pinecones at the first knot.

If giving as a gift, place in cellophane bag without ribbon attached to pinecones.  Use twist tie to attach to outside of bag so it doesn't get smashed inside bag. When gift is opened, bow can be transferred to jute string.


All done.  Engjoy!

Merry Christmas!


Saturday, June 18, 2022

Evaporative Cooler Diffuser Install


We have literally spent YEARS trying to figure out an easy way to attach the diffuser for our evaporative coolers. It needed to be something that could quickly be taken down and put back up by one person with minimal or no tools since it would need to removed twice a year for cleaning, adding a baffle for winter, and removing it in the spring.  We have had a dozen different ideas and spent so much time and money trying to figure out the best way. Of course everything was over engineered.  You just hit the jack pot!

MATERIALS NEEDED
4-  L hooks (#108) per cooler
Diffuser (mine measured 22"x 22")

TOOLS NEEDED
Drill motor
1/8" drill bit
5/32" drill bit
tape measure
marker or pencil
pliers
Saber Saw (may not be needed if you have an 18" duct)


Begin by measuring the size of the duct and determine where to drill the holes into the wood in relation to where the L hooks will be holding the diffuser. We have two ducts, each a different size. 

The smaller duct (18") allows for the L hooks to attach from inside the diffuser, with placement at the end of the louver which prevents movement of the diffuser from side to side as shown above.

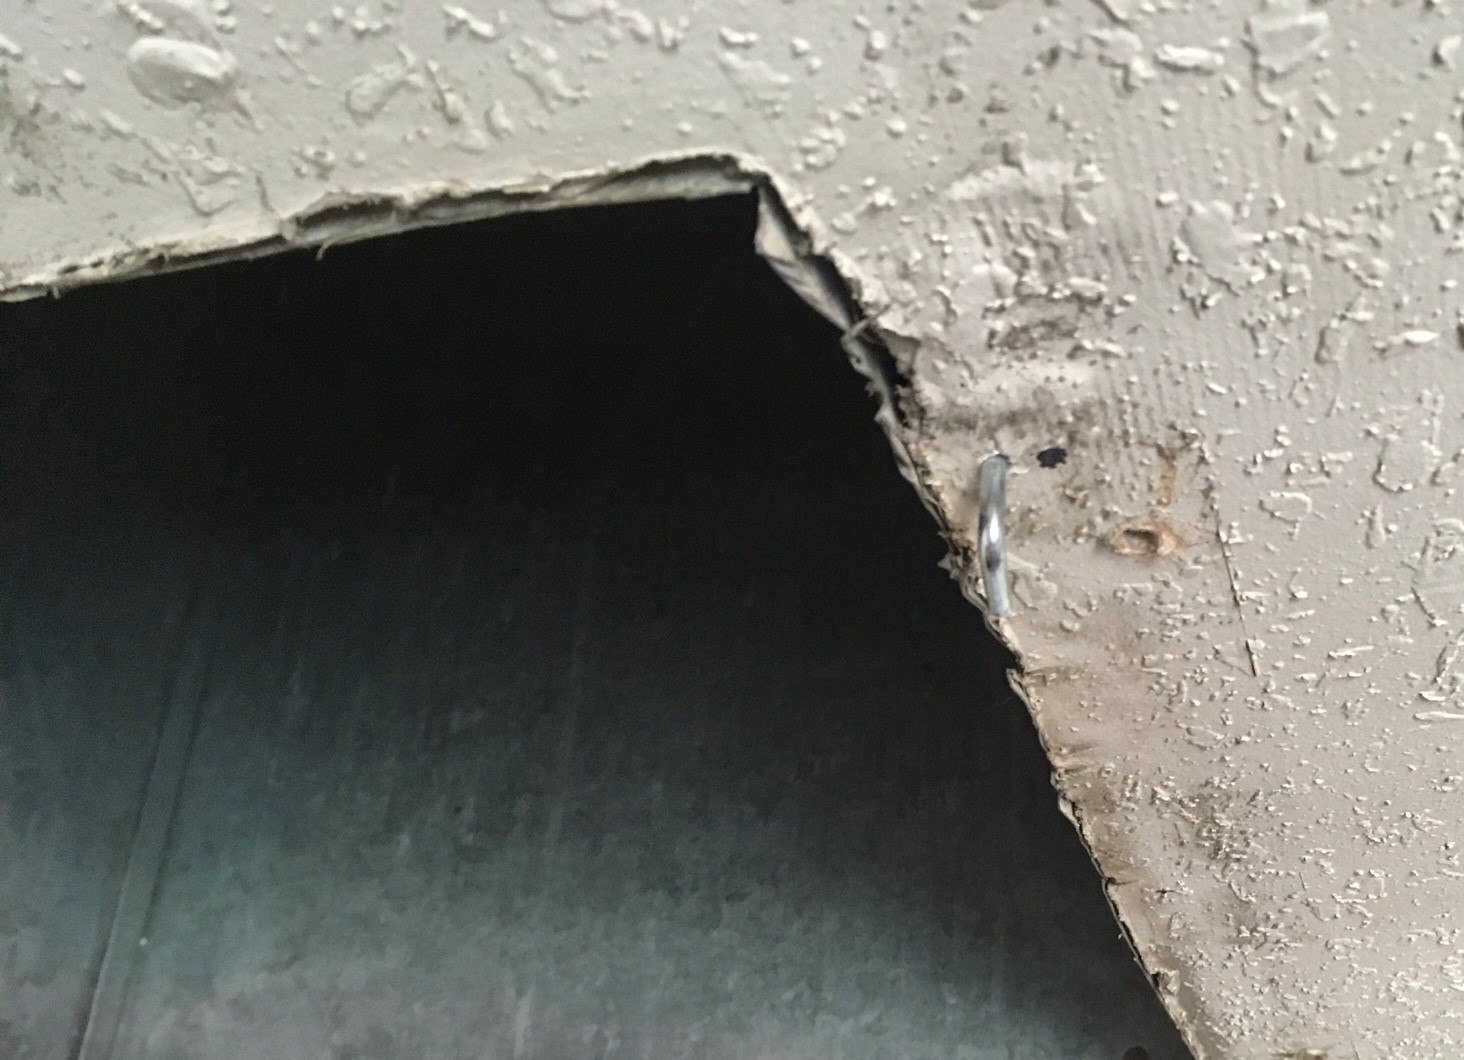
The larger duct (19.5") attached from the outside of the diffuser and needed slots cut for the hooks to line up with the wood in the ceiling, see above.

Once you have determined where to drill the holes (2 in back, 2 in front), mark the spot and drill the holes with the 1/8" bit as deep as the bit.  

Then use the 5/32" bit and drill only as far as the unthreaded part of the hook will go, minus the amount of space from the ceiling to where the hook catches (about 1/4" for the diffusers we used).

 Then screw the L hooks into the holes you just drilled, leaving enough space for the diffuser to clear the hooks (you may need to use the pliers).

Attach diffuser to hooks (so they are at right angles from the duct) on the side farthest from you


and then turn the hooks closest to you so they are parallel with the duct so the diffuser can be slipped past the hooks

  and then turn the hooks 90 degrees to catch the diffuser and hold it in place (using pliers if needed).

If you need to cut slots to line up the proper holes, use a saber saw to make sequential cuts till slot is large enough for the hook.
I cut the slots near a reinforced area for strength.

Quick and easy job done!